Getting Started
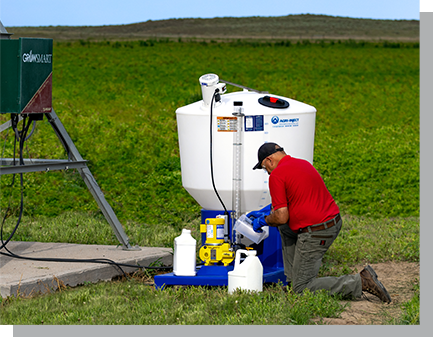
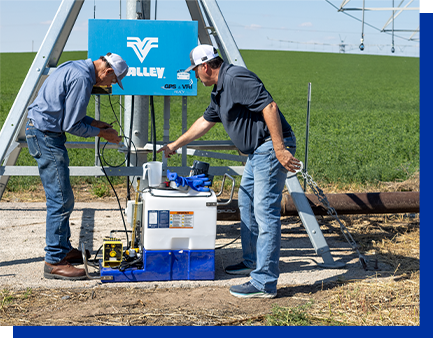
13 STEPS TO SUCCESSFUL FLUID INJECTION

Check oil level and clarity
Use Pump Defender APB, 95G, & D629 as appropriate.
Ensure oil has no chemicals, dirt, or milkiness.

Set pump on level surface

Ensure electrical chords are in good condition with no bare wire

Ensure that supply tank has adequate liquid

Ensure suction/discharge hoses are clean with no debris or cracks

Inspect and clean strainer

Ensure Mister Mist’r is installed and connected

Position all hoses correctly
Discharge hoses pulse intensely and may need to be secured.

Open suction valves
Note: The calibration tube valve is normally closed during startup.

Turn on pump

Check motor direction
The mRoy A/P pumps are bi-directional.

Use bleeder valve on Mister Mist’r to bleed air from discharge line

Set and calibrate pump
Download our helpful ApplyYourself app for easy calibration.


